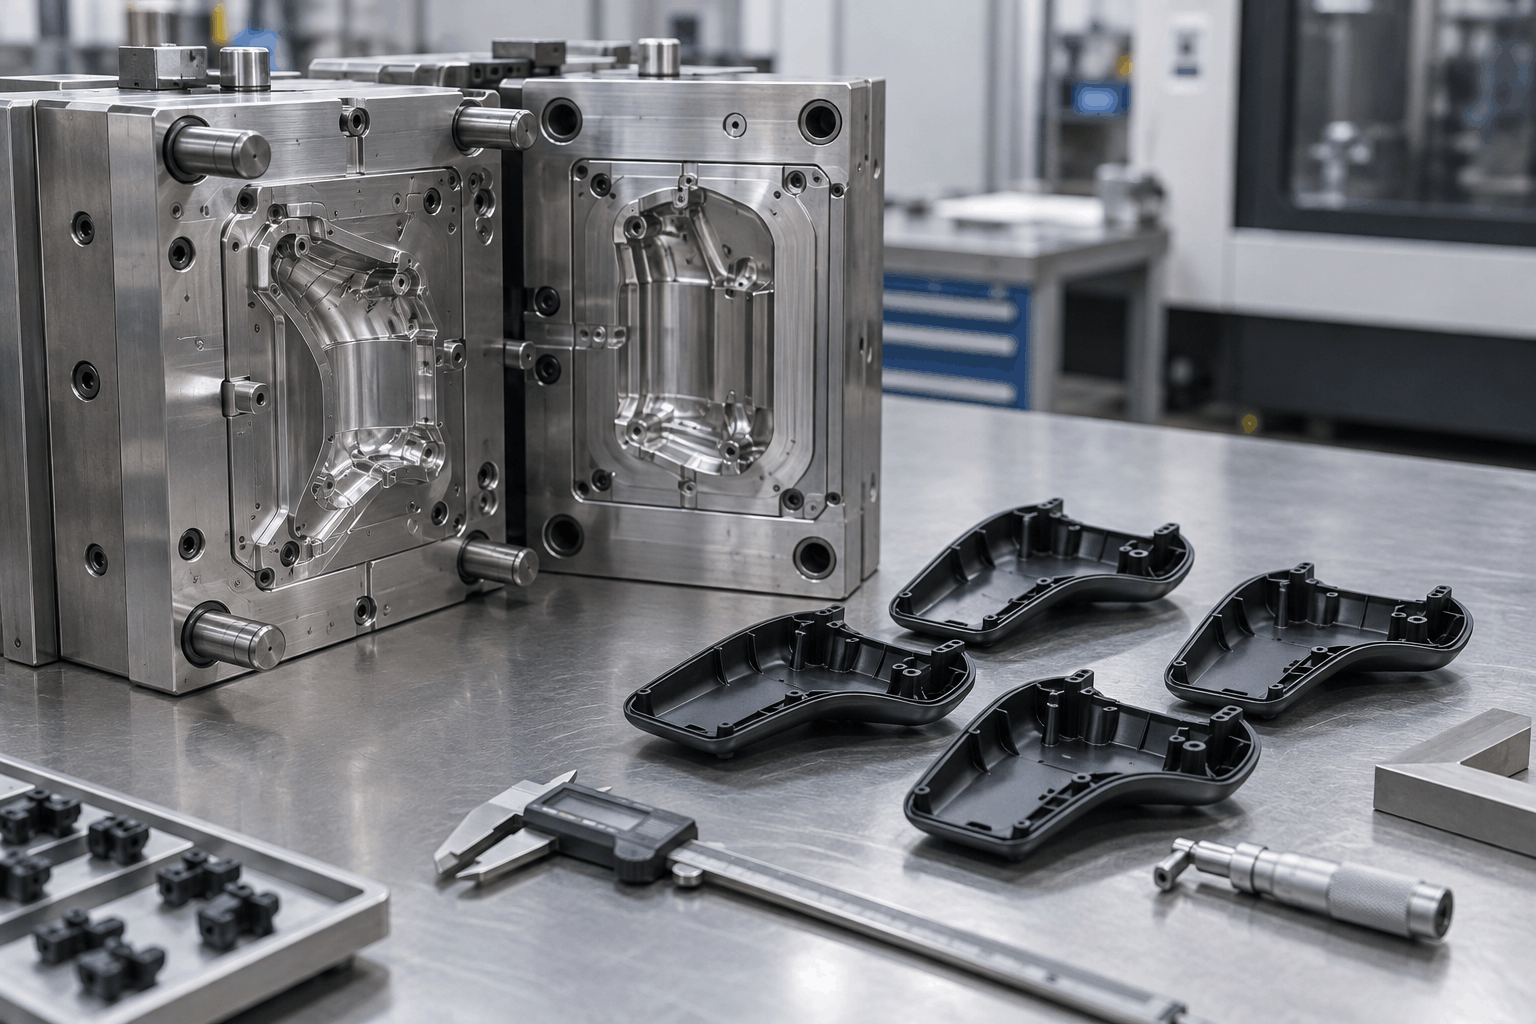
Home appliance plastic parts are made in six stages: design and DFM review, material selection, tooling, injection molding, secondary operations and assembly, and quality control. A housing for a kitchen appliance, a control panel, a washer tub or a structural frame all follow the same path. The differences are in the material, the cosmetic standard and the volume, not in the discipline. This guide walks through each stage the way an OEM manufacturer actually runs it. It uses the same process Haumann applies on its own home appliance and lifestyle programs.
The short version: an appliance part starts as a 3D CAD file and a material specification. The design goes through a DFM review and feasibility trials before any steel is cut. A production steel mold is built — typically 4 to 7 weeks for complex appliance components, including first-article samples. The mold runs on automated presses with micro-level shot controls, so the thousandth part matches the first. Then the part gets its secondary operations: insert molding, overmolding, ultrasonic welding, CNC profiling, branding, paint and final assembly. It also gets its quality evidence before it ships as a finished sub-assembly. The scope, materials, lead times and capabilities below come from Haumann’s home appliances and lifestyle products page.
What makes home appliance plastic parts different
An appliance part lives a harder life than it looks. People use it every day, often several times a day, without ever thinking about it — until it fails. Three demands separate appliance molding from general plastic molding.
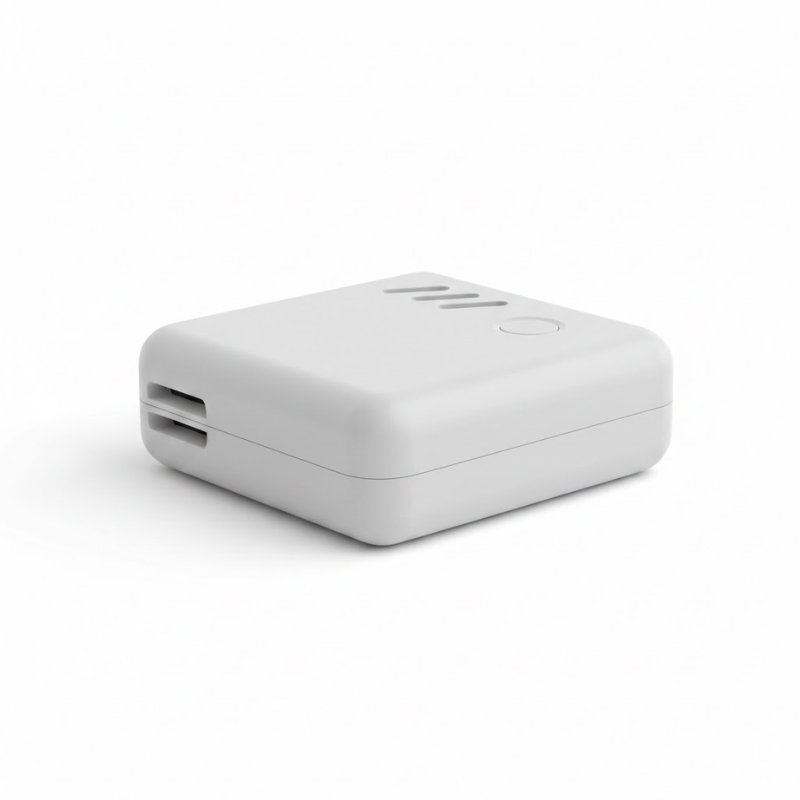
It has to look right and work right at the same time. An appliance housing is a consumer-facing part. Its surface, color and finish are part of the product. A sink mark or a visible weld line on a cover is a defect the buyer sees every day. At the same time it is a functional part. It has to fit precisely, hold its shape, and survive heat, chemicals and daily handling. Cosmetic quality and functional quality are the same job here, not two jobs. The molding has to deliver both, in the same part, on every cycle.
It has to survive its own environment. Kitchen and laundry products meet heat, steam, water, detergents and cleaning chemicals. A material chosen for a dry, room-temperature product cannot simply be carried into a washer or a kitchen appliance. Chemical stability, mechanical strength and high heat resistance are the three properties the appliances page names as the requirement. They are why appliance materials are engineering grades, not general-purpose plastics.
It has to be repeatable at volume. Appliance programs are high-volume OEM programs. A housing, a panel or a frame is not made once. It is made thousands of times. Then the same part is made again as a replacement part, sometimes years later. That means the process has to be stable enough that a part molded this month fits an assembly molded last year. That is why this guide spends as much time on process control and tooling as it does on the molding itself.
Those three demands explain the structure of this guide. The material section is about choosing a grade that survives heat and chemicals and still looks right. The tooling section is about building a mold that holds tight limits across thousands of runs. The quality section is about proving the cosmetic surface as well as the dimensions. Skip any one of them and the part will fail in the field — visibly, or expensively, or both.
The six stages at a glance
| Stage | What happens | What it proves |
|---|---|---|
| 1. Design + DFM | Application review, feasibility trials, DFM geometric risk evaluation | The part can be molded as drawn — before steel is cut |
| 2. Material selection | Grade chosen for heat, chemicals, strength and finish | The part survives its real environment |
| 3. Tooling | Production steel mold, cavity balance, gate layout | The mold holds tight limits across thousands of runs |
| 4. Molding | Automated presses, micro-level shot controls | Every part matches the first, cycle after cycle |
| 5. Secondary operations + assembly | Insert molding, overmolding, welding, CNC, branding, paint, assembly | The part arrives as a finished, ready-to-fit sub-assembly |
| 6. Quality + cosmetic control | Dimensional checks, surface checks, process control | The part fits, looks right, and can be traced to its batch |
Stage 1: Design and DFM — the part is decided here
Every appliance program at Haumann starts the same way. It begins with an application and functional requirement review, then early application feasibility trials, then a detailed DFM geometric risk evaluation. That order matters. The review asks what the part has to do — housing, panel, frame, internal component — and what it has to survive. The feasibility trials test whether the application can be molded at all. The DFM evaluation finds the geometric risks: wall thickness variations, gate positions and warpage risks. It also finds the fit problems that would otherwise appear downstream, on an automated assembly line, as alignment bottlenecks.
The DFM review is where most appliance problems are prevented. Most of them are designed in early and discovered too late. A wall that is too thick will sink. A gate in the wrong place will leave a weld line on a visible surface. A tolerance tighter than the function needs will add cost on every run. A part that is hard to assemble will slow the line it feeds. The review gives specific, drawable changes with reasons, not a vague promise that the part will be fine. It happens before tooling, when a change costs a drawing revision instead of a mold revision.
For the buyer, the practical test is simple: ask for the DFM feedback in writing, with the changes and the reasons. Haumann’s RFQ route works that way. Submit 3D CAD files in STEP format with material specifications. The Houston engineering team then returns a comprehensive DFM feedback report with tooling and cost projections. If a supplier cannot show you what changed in your design and why, the DFM step has not really happened. The risk it was meant to remove is still in the program.
Stage 2: Materials for home appliance plastic parts — four grades, four jobs
There is no single best plastic for home appliances. The appliances page names four engineering-grade resins, each for a different job. The table below is the whole materials section on one page.
| Material | Where it is used | What it does best | Watch out for |
|---|---|---|---|
| ABS | Premium cosmetic housings | Good finish and strength for consumer-facing covers | Not the choice for high-heat or chemical-heavy parts |
| PP (Polypropylene) | Chemical-resistant washer tubs | Chemical resistance for parts that live with water and detergents | Lower stiffness than engineering nylons; design must account for it |
| PC (Polycarbonate) | High-impact display panels | Impact resistance for panels that must not crack | Chemical exposure and stress cracking must be checked |
| Nylon / PA66 blends | Rugged structural brackets | Strength and toughness for load-bearing frames | Absorbs moisture — drying and DFM matter |
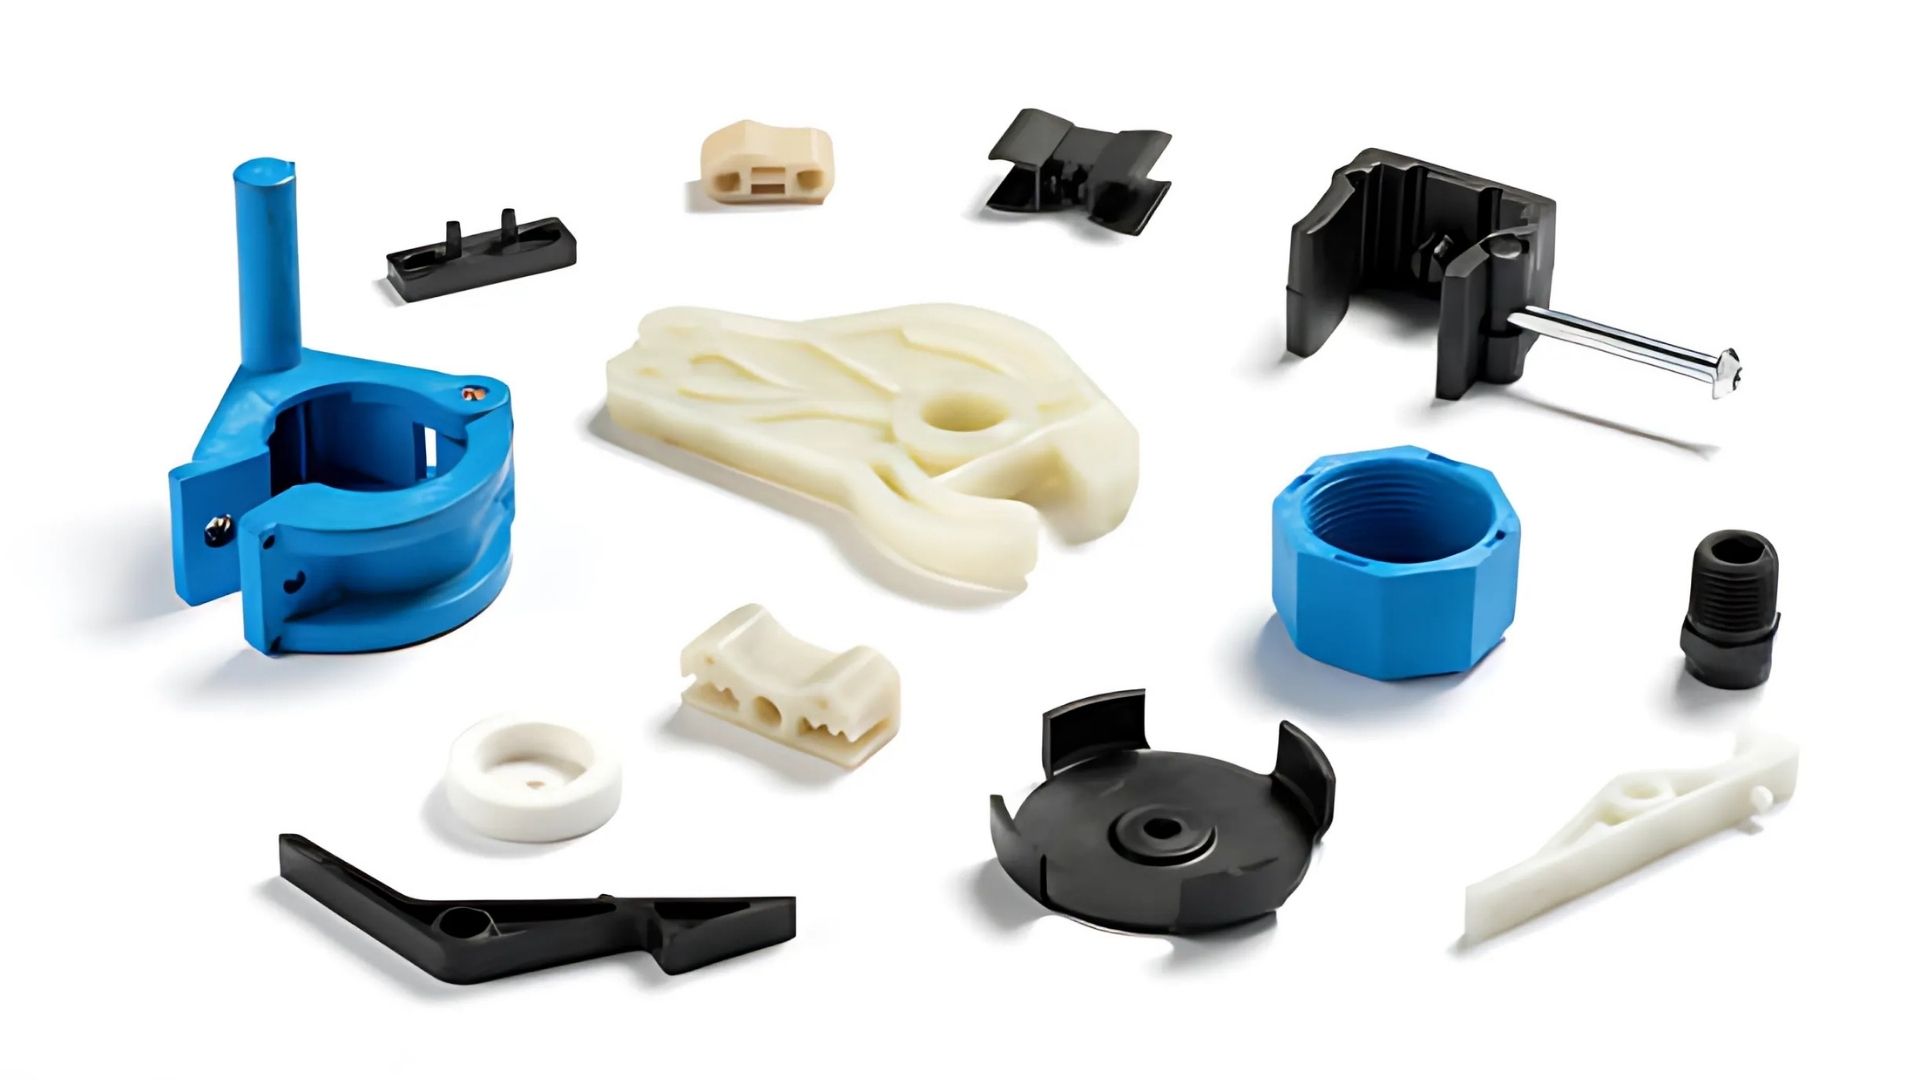
ABS is the cosmetic material: premium housings where the finish is the product. PP is the chemical material: washer tubs and parts that live with water and detergents. PC is the impact material: display panels that must survive a knock without cracking. Nylon and PA66 blends are the structural materials: brackets and frames that carry load. Each one is chosen against the job: heat, chemicals, impact, strength and finish. Each brings its own processing behavior that the tool and process window must respect.
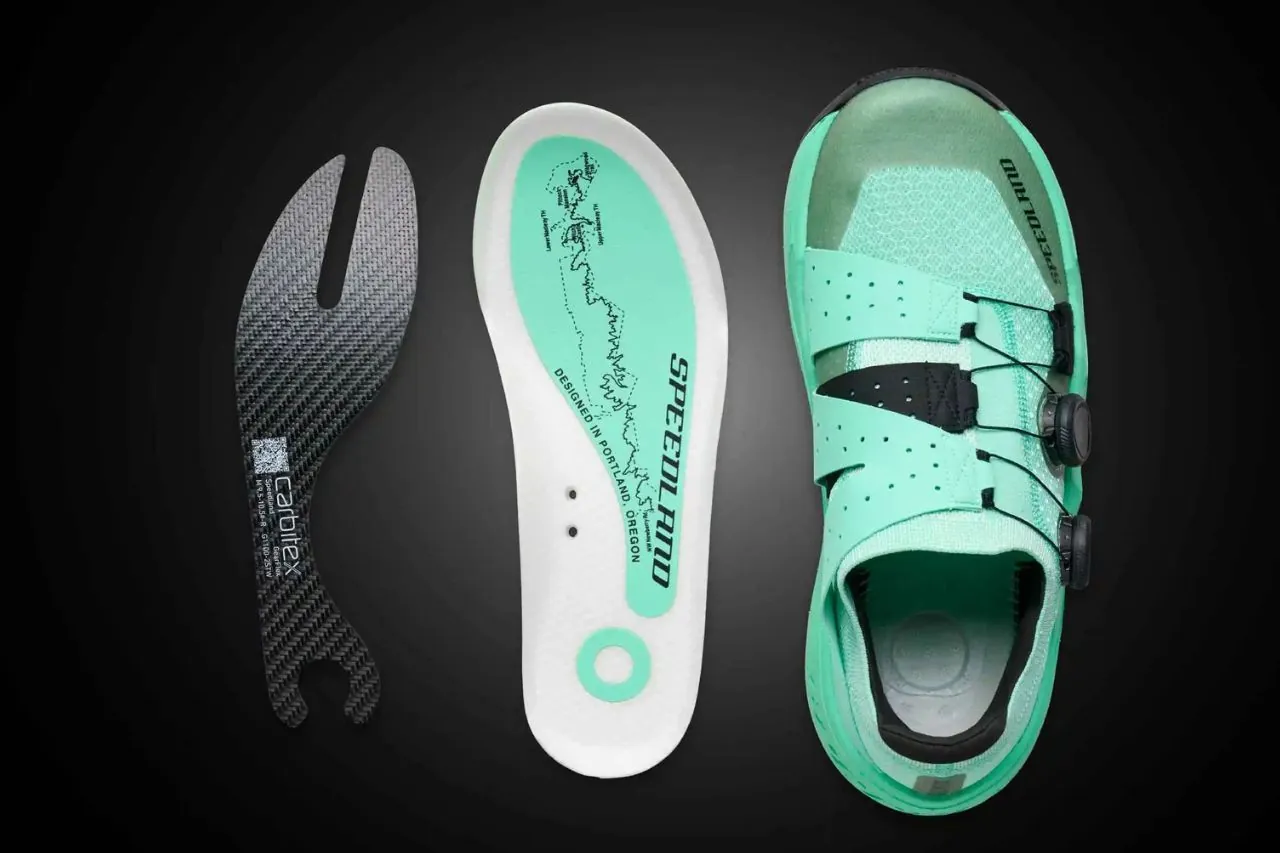
Two points apply to all four. First, the exact commercial grade is always specified per program, with certificates and lot traceability. A material family name is not a specification, and swapping grades mid-program can invalidate the evidence behind a product file. Second, for a deeper, material-by-material guide to choosing between engineering plastics, Haumann’s sports materials guide covers the same decision in depth: PA66-GF30, polycarbonate, TPU overmolding and carbon fiber. The selection logic there applies to appliance parts too, even though the environment is different.
Stage 3: Tooling — the mold decides the tolerance
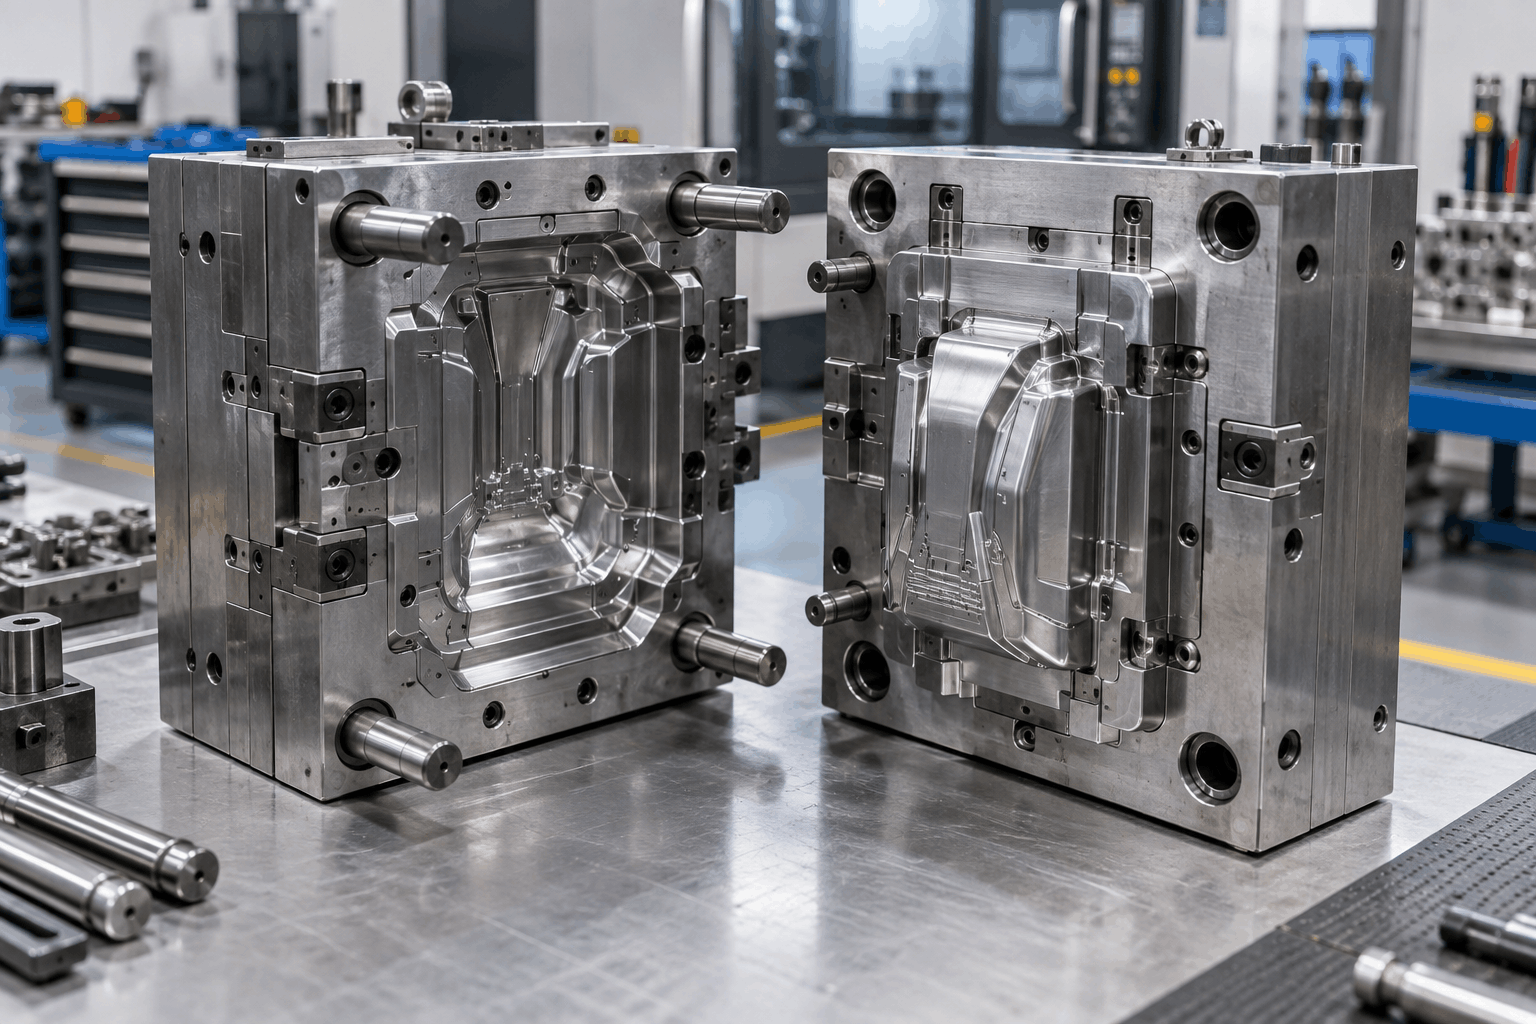
The mold is a precision steel tool machined to form the cavities and cores of the part. It has runners, gates, cooling channels and ejection built in. For home appliance plastic parts, the tooling decision is really two decisions: what steel, and what layout.
The steel decision is about life and stability. Appliance programs run for thousands of consecutive cycles, and the mold has to hold its dimensions across all of them. Haumann builds robust production steel molds for appliance work. The DFM sign-off, internal tool geometry machining, prototype mold assembly and initial operational samples all fall inside the standard lead time. That lead time is 4 to 7 weeks for complex appliance components, depending on part geometry and cavity numbers. That window covers complete DFM sign-off through to first-article verification samples — not just the machining.
The layout decision is about balance and gates, and for appliance parts it is also a cosmetic decision. Cavity balance decides whether every cavity fills alike; gate layout decides where weld lines fall. On a consumer-facing cover, a weld line in the wrong place is a visible defect on every part. Gate placement is planned with the visible surface in mind, not just with fill in mind. Wall thickness is checked in the same review. A thick section will sink, and a sink mark on a premium housing is a rejected part. The tool engineering division addresses surface variations during the initial mold cavity balance and gate layout phase. That is before steel is cut, when the fix is still cheap.
The honest point for a buyer is the same one Blog #6 makes for high-volume work. If a supplier proposes a mold without asking about annual volume, design stability, part size and material, that is a warning sign. The tool should follow the program, not lead it. The program’s needs for an appliance part are tight limits, a clean cosmetic surface, and a long, stable production life.
Stage 4: Molding — repeatability is the product
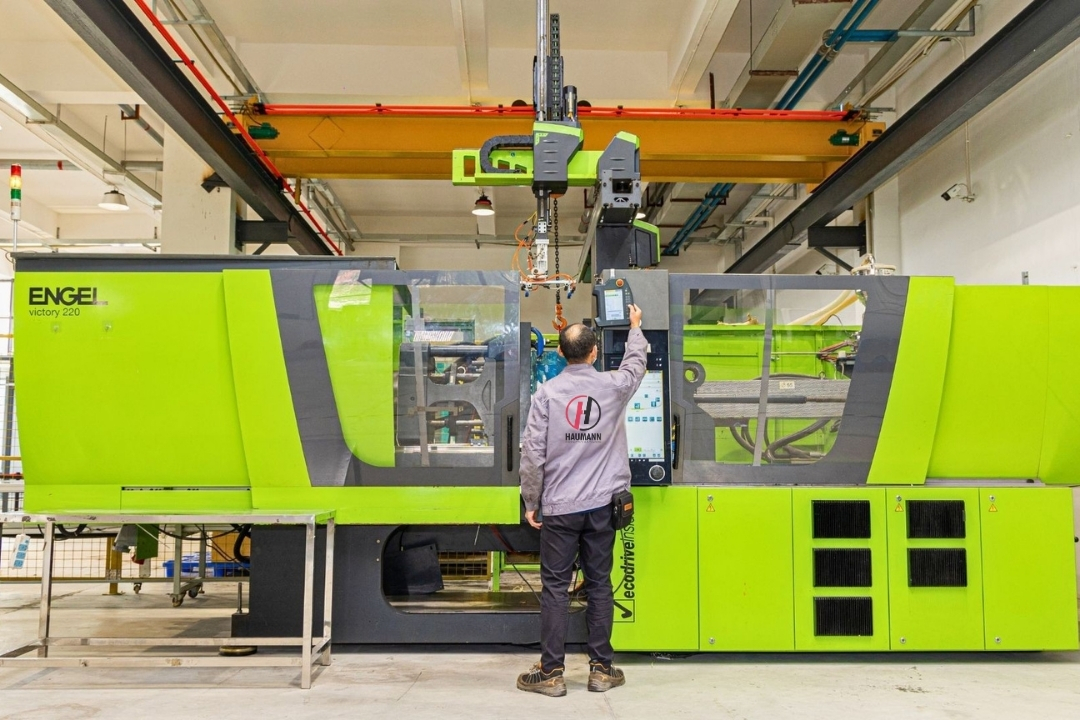
Production molding runs a repeating cycle. Where the resin requires it, the pellets are dried first. They are then fed into a heated barrel. A rotating screw melts and mixes them, then injects them under pressure into the closed mold. The press holds pressure while the part packs out and begins to cool. Cooling continues until the part is stable enough to eject, and ejector pins release it. The cycle then repeats. For most home appliance plastic parts the cycle is measured in seconds, depending on size, wall thickness and material. At appliance volumes, every fraction of that cycle is multiplied by the number of cycles in the program.
What makes appliance molding different is the control around the cycle. Haumann’s automated injection molding machines execute micro-level shot controls, maintaining repeatable, tight volumetric limits across thousands of consecutive manufacturing runs. That is the sentence that matters for a buyer. It is the difference between a supplier who can make a good first part and a supplier who can make a good ten-thousandth part. The process window covers melt and mold temperatures, injection speed and pressure, hold time and cooling time. It is set during validation and held in production, not left to operator memory. A defined, logged and held process window lets a program run across shifts, operators and months without drifting.
Cooling deserves a special mention. It is usually the largest share of cycle time and the biggest source of cosmetic trouble. Wall thickness, gate location, cooling-channel layout and mold temperature all decide how fast heat leaves the part evenly. Evenly is the operative word. Uneven cooling creates warpage and differential shrinkage, so parts from the same mold can end up with different final dimensions. For an appliance sub-assembly, several molded parts have to fit together on an automated line. That drift is not a cosmetic issue: it is an alignment bottleneck. That is why the DFM review, the tooling work and the process window are one continuous job, not three separate ones.
For a general background on how the molding cycle itself works, Plastics Technology’s injection molding topic hub is a useful industry reference, as it was for Blog #6 and Blog #7.
Stage 5: Secondary operations and assembly — the part arrives finished
A home appliance plastic part rarely ships as a bare molding. It ships as a finished sub-assembly, and the secondary operations are what turn a molded part into one. Haumann’s appliances page lists a full turn-key platform. It is worth reading as a list, because each operation answers a different need.
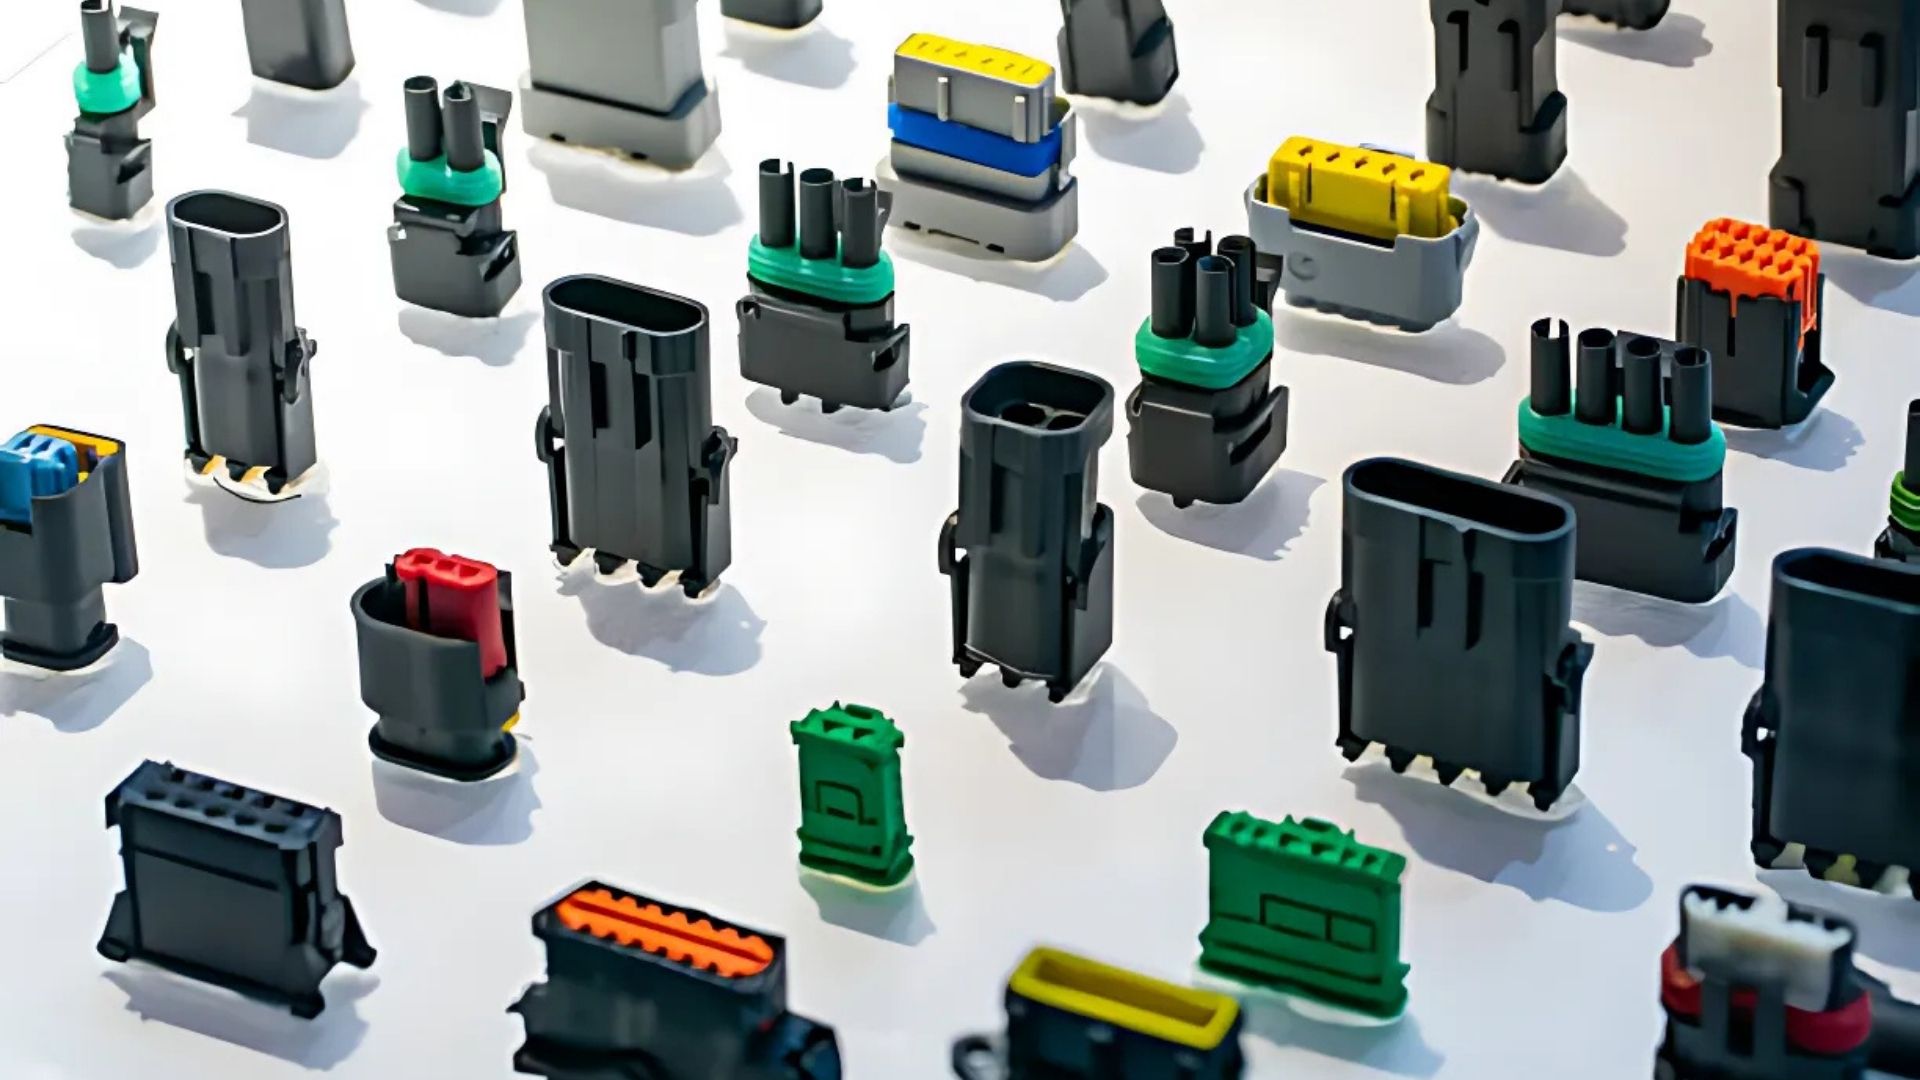
Insert molding places threaded metallic components into the part during molding. The finished component arrives with its fastening points already in place. There is no separate hardware fitting step, and no risk of a threaded insert working loose in the field.
Overmolding molds a soft-touch material, typically TPU, over a rigid part. It serves ergonomic product interfaces: the handles, grips and touch points where the user meets the appliance. The soft layer is part of the component, not an accessory glued on afterwards. The bond between the two materials has to be validated in DFM, as Blog #7 explains for sports gear.
Structural foam systems are the third multi-material option, for parts that need stiffness at low weight with a structural foam core.
Beyond molding, the platform covers ultrasonic plastic welding for joining parts without fasteners and precision CNC profiling for features the mold cannot form. It also covers custom component branding, specialized cosmetic paint applications, and structural final product assembly. The point of having all of them under one roof is fit. When the same supplier molds the parts and runs the secondary operations, the interfaces between parts are controlled inside one factory instead of between two vendors. A part that does not fit is caught before it reaches the buyer’s line.
For the buyer, the question to ask is not whether a supplier offers secondary operations. It is whether they are part of the qualification. A weld, a paint finish or an assembly step added after the mold is approved is a quality escape waiting to happen. The secondary operations should be designed in, with the part, the tool and the cell planned together. That is exactly the order Haumann’s process follows: tooling development, component production and validation, then assembly, scale-up and ongoing process control.
Stage 6: Quality and cosmetic control — proving fit and finish
Quality in home appliance plastic parts is checked in layers. The cosmetic layer is as strict as the dimensional one. The appliances page is explicit about this. Surface variations are addressed in the tooling phase, wall thicknesses are optimized through DFM validation, and cyclic pack pressures are fine-tuned during molding. All of that is so the finished surfaces are pristine and match strict consumer branding standards. That is not marketing language. It is the acceptance standard for a consumer-facing part: the surface has to be right, not just the dimensions.
The dimensional layer works the same way it does in Blog #6’s high-volume guide. It uses DFM simulation and high-precision steel tooling up front, micro-level shot controls during production, and repeatable tight limits across thousands of runs. The difference for appliances is what the dimensions serve. They serve sub-assemblies that have to fit together on automated downstream lines, without alignment bottlenecks. A housing that is a fraction out will not assemble cleanly. A line that stops for fit problems is a program that misses its dates.
The third layer is the one buyers most often forget to ask about: standards. Many OEM programs reference the performance standards published by ASTM International for the durability and safety testing behind their products. The right question to ask a supplier is which standards the program is measured against, and what evidence exists that the part meets them. Certificates support a product file; they do not complete it. The evidence that matters is the record: DFM feedback, process window logs, inspection results and batch traceability. That record means the history of the component can be reconstructed if a question arises months later.
Haumann operates under ISO 9001 and IATF 16949 certified quality systems, with the measurement, inspection and traceability discipline those systems require. The same care about scope applies here as in Blog #5 and Blog #6. This guide makes no ISO 13485 or cleanroom claim for appliance work, and buyers should always match a supplier’s certificates to the exact scope of their own program.
Defects in home appliance plastic parts: prevent them, do not sort them out
For home appliance plastic parts, most molding defects are process messages. Each one points to a cause in design, material preparation or machine settings. Each one should become rarer as a program matures, because the cause gets engineered out. At appliance volumes, the stakes are higher. A defect is multiplied by the run length, and the buyer sees it every day. These are the defects appliance buyers most often ask about, and what prevents them.
| Defect | What you see | Typical cause | Prevention |
|---|---|---|---|
| Sink marks | Dips on the surface over thick sections | Uneven wall thickness or insufficient packing | Uniform walls in DFM; ribs instead of solid thickness; correct hold time and pressure |
| Weld lines | Visible line where two melt fronts meet | Gate position, low melt or mold temperature | Gate relocation and temperature control; keep lines off visible surfaces |
| Warpage | Part twists or bows after ejection | Uneven cooling or shrinkage, poor gate placement | Balanced cooling, gate review and mold-flow thinking in DFM |
| Short shots | Part is incomplete or a feature is missing | Insufficient material, pressure or venting | Correct shot size, pressure and mold venting |
| Flash | Thin excess plastic along the parting line | Worn tooling, low clamp force or excess pressure | Tool maintenance, correct clamp and process settings |
| Color or gloss variation | Parts from different runs look different | Material lot change, process drift, drying differences | Material lot traceability; defined process window; drying discipline |
| Dimensional drift | Parts stop fitting the assembly | Process window drift, tool wear, material lot change | Micro-level shot controls; batch inspection; documented change control |
Notice the pattern. Most prevention happens before production: in DFM, material selection, tooling and process setup. Inspection confirms that prevention worked. A supplier who talks mainly about final inspection is describing the most expensive and least reliable way to run an appliance program.
Scaling up home appliance plastic parts: from first samples to millions of parts
Moving home appliance plastic parts from development to mass production is a decision with a sequence, not a date on a calendar. Haumann’s appliance setup is built for exactly that transition. Its tool configurations move smoothly from short-run, localized verification batches, ideal for testing market demand. They move directly into stabilized, automated mass-production routines capable of supporting millions of replacement part cycles.
The sequence is the same as the six stages in this guide, run in order. Application review and DFM first, so the design is settled. Tooling next, with the 4-to-7-week steel mold build and first-article verification samples proving the tool before production. Then the molding process is validated and held, and the secondary operations are qualified as part of the program. The quality evidence follows every batch. Only then does the program scale. When it does, the scale is real: automated routines, micro-level shot controls, and batch traceability that ties every shipment back to its material and process records.
That transition is also where the dual-base model matters for appliance OEMs. Project management, DFM engineering reviews, tool configuration validations and final quality checks are directed from Houston, Texas. Scalable offshore facilities handle high-volume mass production to optimize piece-part cost structures. The buyer gets a local, accountable partner for the engineering conversation and the capacity behind it for the long run. That is the same structure Blog #6 describes for high-volume programs, applied here to appliance volumes. If a supplier cannot walk you through the verification-batch-to-mass-production transition for your part, the program is not ready to scale — however good the unit price looks.
How to choose a home appliance molding partner
Use this checklist when you compare suppliers of home appliance plastic parts. The best partner will answer every point with evidence, not adjectives.
- Ask for a written DFM review with specific design changes and reasons before you commit to tooling. Ask what changed as a result of it.
- Ask which exact grades are proposed for each part, and why: ABS, PP, PC or nylon. Then ask for the certificates and lot traceability that come with them.
- Ask how sink marks and weld lines are prevented on cosmetic surfaces. Ask how the gate layout was planned with the visible surface in mind.
- Ask what the tooling lead time covers: DFM sign-off, machining, prototype mold assembly and first-article samples. Ask what happens if the first samples are not right.
- Ask how tight limits are held across thousands of runs. Ask what the batch inspection and release process looks like, then ask to see a sample record.
- Ask which secondary operations are qualified as part of the program: insert molding, overmolding, welding, CNC, branding, paint, assembly. Ask how they are validated.
- Ask how the program scales from verification batches to mass production. Ask how replacement-part supply is handled over the product’s life.
- Confirm who owns project communication, where they sit, and how changes are documented. Confirm that proprietary CAD models and tool designs are protected under NDA before review.
- Check that certificates match the scope. ISO 9001 and IATF 16949 discipline is valuable, but it is not a substitute for the evidence your own product file needs.
- Compare total program cost: tooling, unit price, finishing, freight and the cost of a quality escape. Do not compare unit price alone.
In short, home appliance plastic parts are won before the first production shot. They are won in the design review, the material choice, the tool design, the process window and the quality system. Choose the partner who proves control at those stages, and the molding itself becomes the most predictable part of your program. If you are preparing an appliance part, send the design for an engineering-led DFM review. Get a manufacturing plan you can put in front of your own quality team with confidence. Start with Haumann’s home appliances and lifestyle products page, or contact the Houston team at globalsales@haumann-group.com or +1 (832) 497-0809.
Short, direct answers to the questions engineers and sourcing teams ask most often about home appliance plastic parts. These questions are different from the home appliances page’s own FAQs — that page covers its service scope; this guide covers how the parts are actually made and chosen.
Frequently Asked Questions: How Home Appliance Plastic Parts Are Made
In six stages: design and DFM review, material selection, tooling, injection molding, secondary operations and assembly, and quality control. A CAD file and a material specification go through feasibility trials and a DFM evaluation, a production steel mold is built (typically 4 to 7 weeks for complex parts, including first-article samples), the mold runs on automated presses with micro-level shot controls, and the part gets its secondary operations and quality evidence before shipping as a finished sub-assembly.
It depends on the job. ABS is the usual choice for a premium cosmetic housing, because of its finish and strength. PP suits parts that live with water and detergents, like washer tubs. PC suits high-impact display panels. Nylon and PA66 blends suit rugged structural brackets. The choice follows heat, chemicals, impact, strength and finish — and the exact grade is always specified per program, with certificates and lot traceability.
Because the surface is the product: a sink mark or a visible weld line on a cover is a defect the buyer sees every day. Cosmetic molding prevents those defects in the tooling phase — mold cavity balance, gate layout, wall thickness in DFM, and fine-tuned pack pressures during molding — so the finished surface is pristine and matches consumer branding standards.
Insert molding places threaded metallic components into the part during molding, so the finished component arrives with its fastening points already in place. There is no separate hardware fitting step, and no risk of a threaded insert working loose in the field.
Overmolding molds a soft-touch material — typically TPU — over a rigid part, for ergonomic interfaces like handles and grips. The soft layer becomes part of the component, with no adhesive and no separate assembly step. The bond between the two materials has to be validated in DFM, because a grip that peels is a field failure.
By finding the geometric risks before steel is cut: wall thickness variations, gate positions, warpage risks and the fit problems that would otherwise appear downstream, on an automated assembly line, as alignment bottlenecks. The DFM evaluation gives specific, drawable changes with reasons, so the parts that arrive for assembly actually fit together.
When the design is stable after DFM, the material is specified by grade, the steel mold is built and first-article samples are verified, the process window is defined and held, the secondary operations are qualified, and change control is in place. Haumann’s setup moves from short-run verification batches directly into stabilized, automated mass production — but only once those steps are proven.
Because the molded part is not always the finished product. Cosmetic paint applications and custom component branding give the part its final consumer-facing finish — color, texture and brand marks that have to match strict consumer branding standards. Like every other secondary operation, painting and branding should be qualified as part of the program, not added afterwards.
Ask for a written DFM review with specific changes, the exact grades proposed and why, how sink marks and weld lines are prevented on visible surfaces, what the tooling lead time covers, how tight limits are held across thousands of runs, which secondary operations are qualified, and how the program scales from verification batches to mass production. The best partner answers every point with evidence, not adjectives.
Project ownership, engineering review and communication are managed by Haumann’s team in Houston, Texas, which directs the DFM reviews, tool configuration validations and final quality checks, while scalable offshore facilities handle high-volume mass production under one quality standard. That gives US OEM teams a local, accountable partner with global manufacturing capacity behind it.
Start with a DFM review of your part
Share the part design for an engineering-led review. It covers material choice, manufacturability, tooling strategy and quality planning for your home appliance plastic parts program. Explore the scope first on Haumann’s home appliances and lifestyle products page, or contact the Houston team at globalsales@haumann-group.com or +1 (832) 497-0809.